5.2 Create the workshop directory
We will now create a folder/directory, where we will store what we produce during this course.
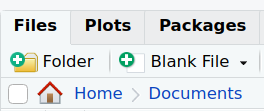
Go to the Files tab in the bottom-right corner: by default, this will be set to your Home.
You can navigate through the tree of files and directories by double clicking one folder name, to enter it, and by clicking on the double dot “..” to go back.
Choose the folder under which you would like to save the workshop’s work.
For example, you can create it right under Home -> Documents (or anywhere else that you will remember, as we do not have the same folder structures).
Click on “Home” and then on “Documents”:

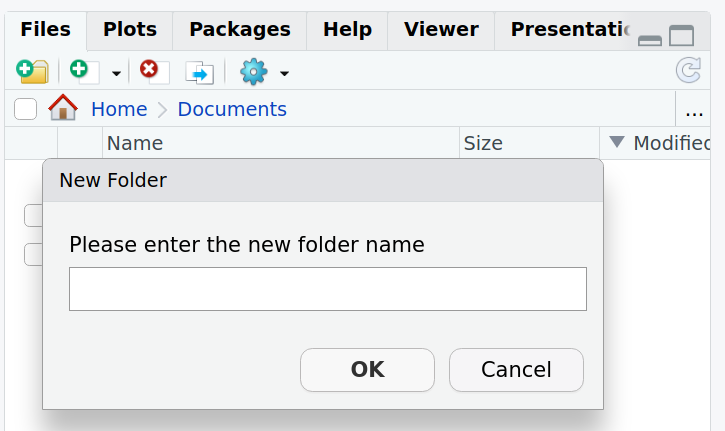
Create a folder called “DataViz_R_2024” by clicking on the “+Folder” icon.

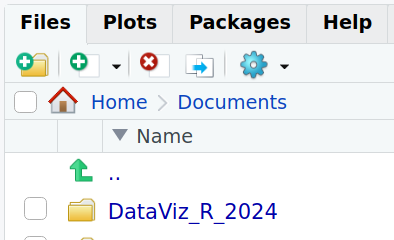
You should now see a new folder:

Click on the newly created “DataViz_R_2024” folder, still under the “Files” tab, so you enter it.
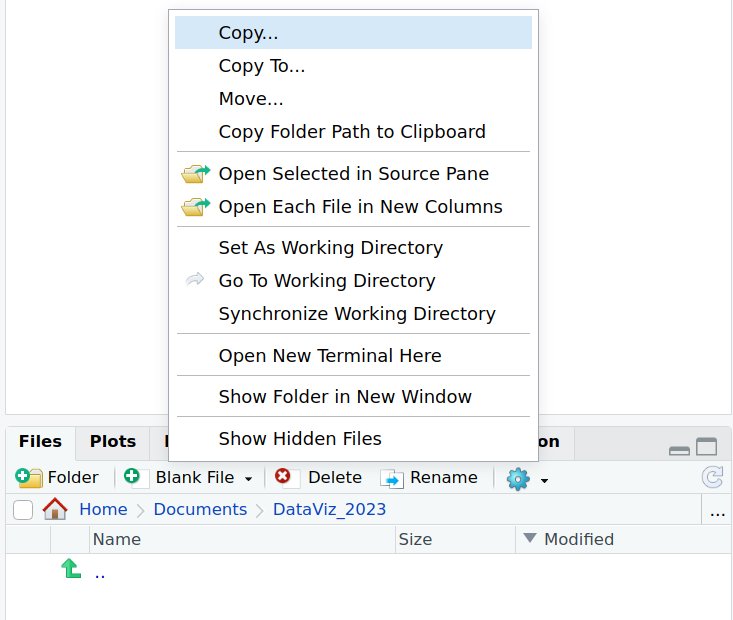
Click on the “More file commands button”:

Click on “Set As Working Directory”:

The working directory is where R will, by default, find files to read, and that is where it will also save files and figures, if another location/path is not specified.